# Create a self-signed certificate
{% hint style="info" %}
In the root folder of the ***GameLauncher-FlatWindow***\
Open the **MAC\_AppGenerator** folder\

{% endhint %}
1. In **Finder** -> Locate and open **KeyChain Access**
2. **In the top menu -> KeyChain Access -> Certificate Assistant -> Create Certificate**
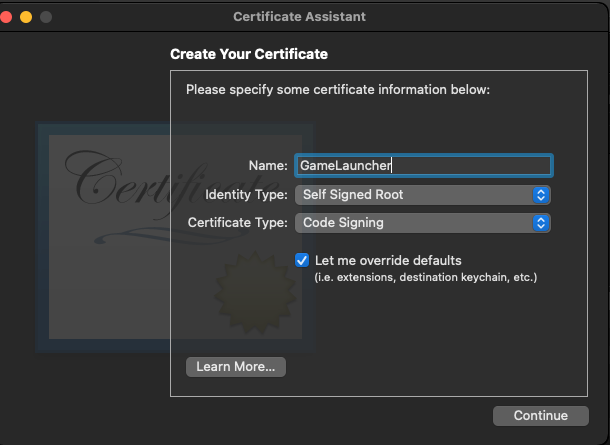
3. In the **Certificate Assistant** set this data and click **Continue**
> **Name:** *GameLauncher*\
> **Identity Type:** *Self Signed Root*\
> **Certificate Type:** *Code Signing*\
> **Let me override defaults:** *(checked)*
4. Set the **Validity Period** to 2000 days
5. In the **Certificate Information**
> **Email Address:** *with your email*\
> **Name:** *GameLauncher*\
> **Organization:** *GameLauncher inc*\
> Country or Region: *your country*
6. **Key Pair Information** -> **Continue**
7. In **Key Usage Extension** set this data:
> **Capabilities**\
> Signature\
> Certificate Signing
8. **Extended Key Usage Extension -> Continue**
9. **Basic Constraints Extension -> Continue**
10. **Subject Alternate Name Extension -> Continue**
11. **Specify a Location For The Certificate -> Create**
12. Certificate created! Now locate and **Copy** the **SHA-1** at the end of the file
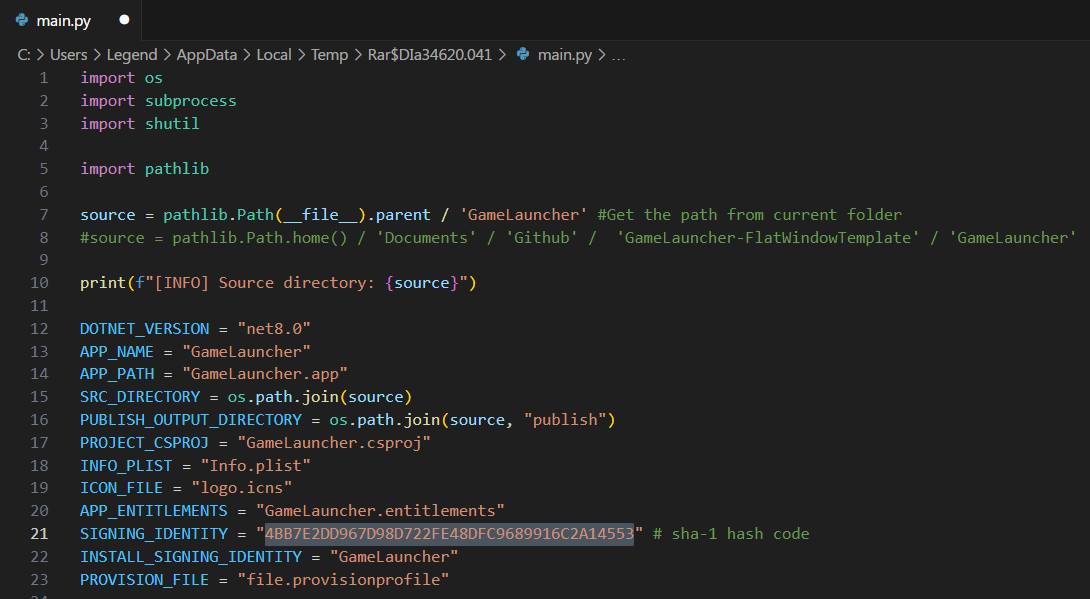
13. In the [***Mac\_AppGenerator***](#user-content-fn-1)[^1] folder open [**main.py**](#user-content-fn-2)[^2] with a text editor\
Paste the **SHA-1** in the **SIGNING\_IDENTITY** *(Remove the spaces)* and **Save the file**
Paste the SHA-1 in the main.py (Remove the spaces)
Proceed with the next step.
[^1]: This is located root of the GameLauncher-FlatWindow repository
[^2]: The script to generate the Mac App